Manage your Databases
There are many self-service operations that you can run for your databases, which allows you to easily manage your deployments. You can:
- Create a Database
- Restart a Database
- Import a Database
- Export a Database
- Restore a Database
- Switch Connection URL
- Pause/Resume a Database
- Change Database Plan
- Change Database name
- Clone a Database
- Delete a Database
- Configure your Neo4j Database
Create a Database
In order to create a new database, you need to have an Organization and Environment created. Note that the database will be created in the AWS region you chose for your Environment.
You can find all the information you need to create your database in this article.
Management Launcher
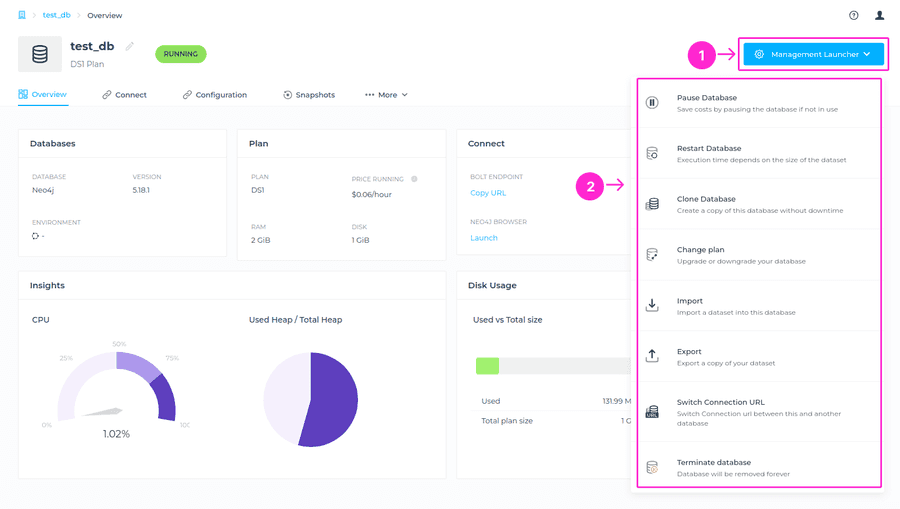
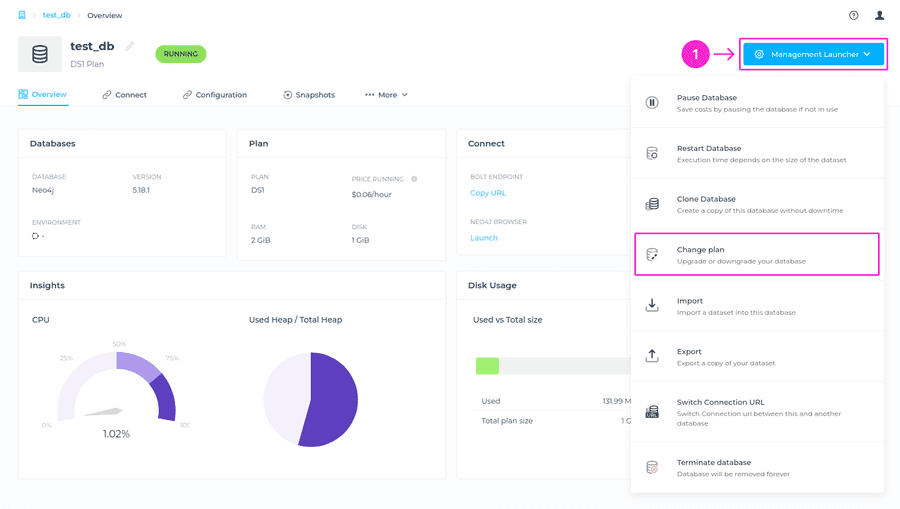
Management Launcher is the place where you can see the overview of Operations that are allowed for your deployments. To access it, please navigate to the database dashboard > Management Launcher button at the upper right corner. The available operations are:
- Pause/Resume Database
- Restart Database
- Clone Database
- Change Plan
- Import
- Export
- Switch Connection URL
- Terminate Database
Pause/Resume Database
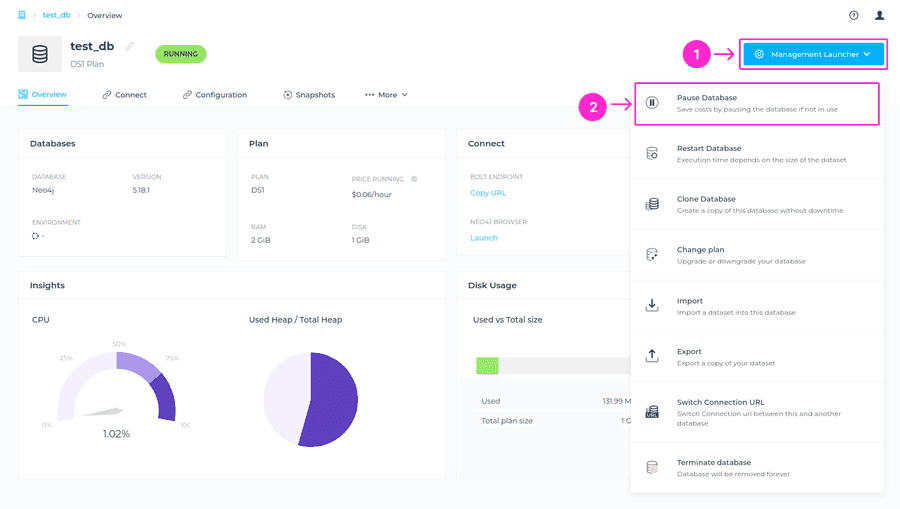
You can pause a deployment when it’s not in use, and start it again whenever you want to use it, paying a small fraction of the price. This is a great feature to help you save costs on your non-production databases and can be done right from your Management Launcher menu.
For more information on how to pause or resume your databases, please see this article.
Restart a Database
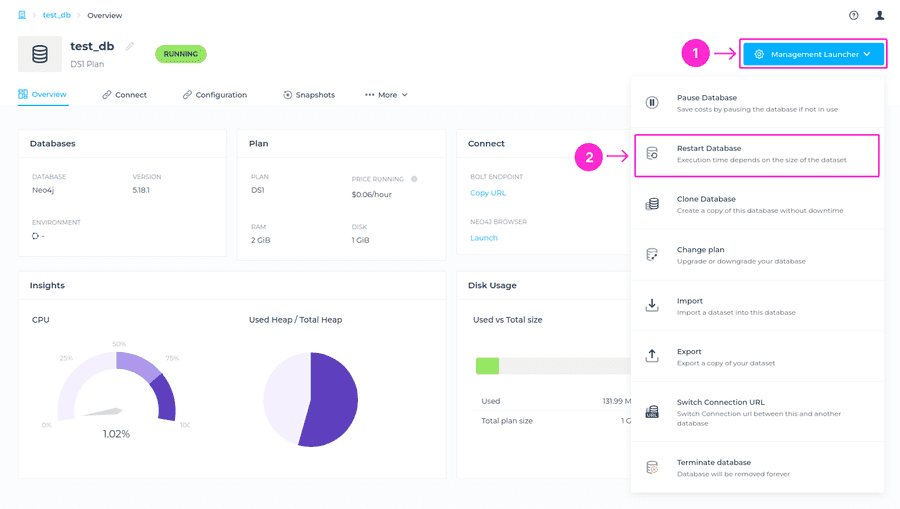
You can find the Restart database feature in the Management Launcher in the upper right corner. For detailed instructions on this option, please take a look at this article.
Restore a Database
You can restore a Snapshot into any database within the Organization. You can use an On-Demand Snapshot or Scheduled Snapshot for the restore, please follow this article for detailed instructions.
⚠️ Important
- The operation will result in downtime in the Target Database, but not in the Origin Database where the Snapshot was taken from.
- The operation time will depend on the size of the Snapshot.
Switch Connection URL
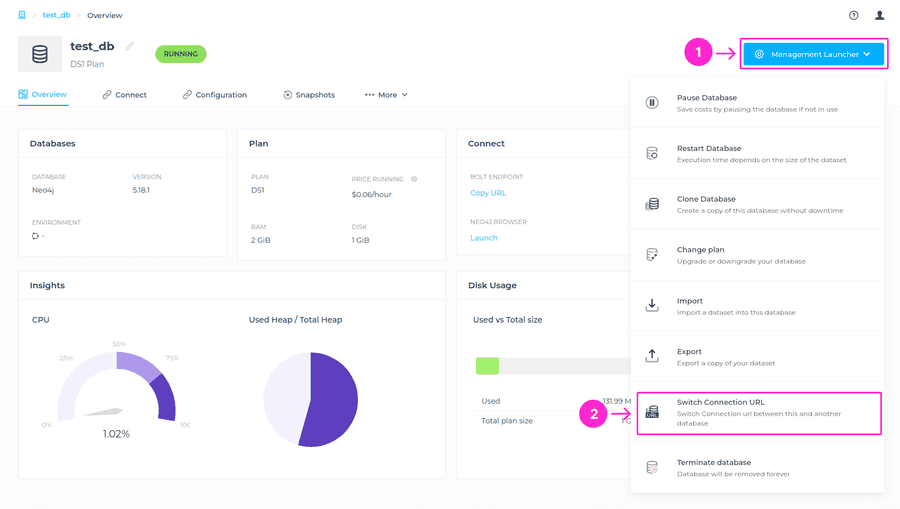
You can use the Switch Connection URL feature in case you want to switch the connection URL between two databases. For example, you can use this feature to switch the connection URL between the cloned and the origin DB. For detailed information about this feature, please follow this article.
Change Plan
Changing the database plan (upgrade) is an option available to you within the Management Launcher menu. To locate it, navigate to the dashboard of the database you want to change plan for > Management Launcher at the upper right > click on the Change Plan button.
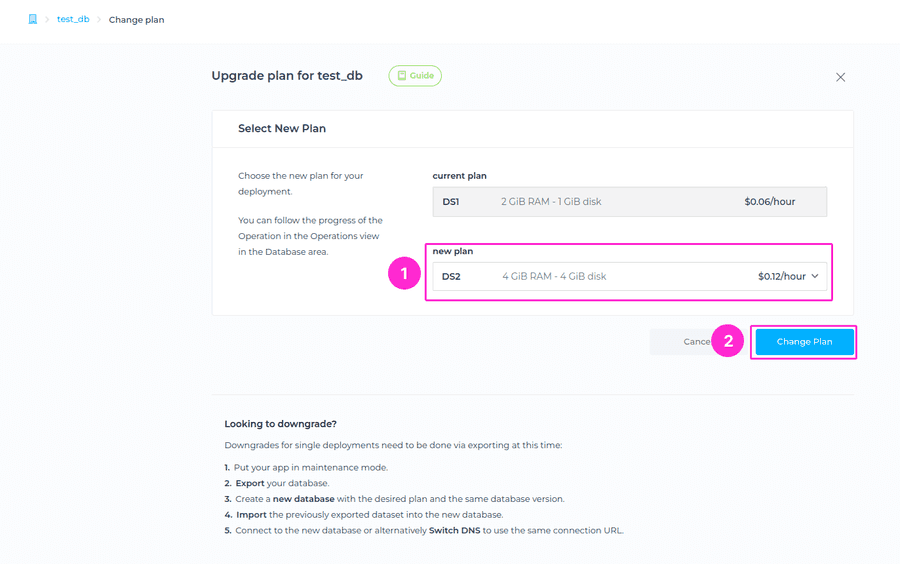
You’ll be prompted to the next screen, where you will see what is the current plan of the database, and choose a new plan for the database from the drop-down menu. The information about the price and specifications of each plan is available for you to review, before initiating this operation.
Once the desired plan is selected, please click on Change Plan button.
⚠️ Important
- This operation is executed inplace and involves downtime. The downtime will be independet from the database size and depends on how long Neo4j takes to stop and start.
- There is a cooldown period of 6 hours from AWS for resizing disk.
We are first stopping the database to make sure there are no writes into the database before taking the snapshot. A snapshot is taken by the operation and that snapshot would be available for you in the on-demand snapshot table. Please ensure that you have a free slot for on-demand snapshot. If you already have two on-demand snapshots, please delete one before performing the plan change.
There is a cooldown period of 6 hours from AWS for resizing disk. This means that after plan change, if you attempt to do another plan change the error will show:
error The database's volume is not ready to be modified Please allow for the cooldown period to complete before trying again.
If you are in urgent need to change plan again and cannot wait for 6 hours, there is a workaround that includes creating a Snapshot > Restore into new database/create new Database from Snapshot > Change plan. Then you can use our Switch connection URL feature to change the connection URL from orogin to new database.
Downgrades need to be done via exporting at this time. If you want to downgrade plan, please make sure that the new plan features enough disk and resources for your dataset and load. Here’s the process for downgrading plan:
- Put your app in maintenance mode.
- Export your database.
- Create a new database with the desired plan and the same database version.
- Import the previously exported dataset into the new database.
- Connect to the new database or alternatively Switch DNS to use the same connection URL.
Upgrade version - Coming Soon
An upgrade of your database version will be available soon. It will be possible to initiate the version upgrade directly from the Management Launcher menu.
Terminate a Database
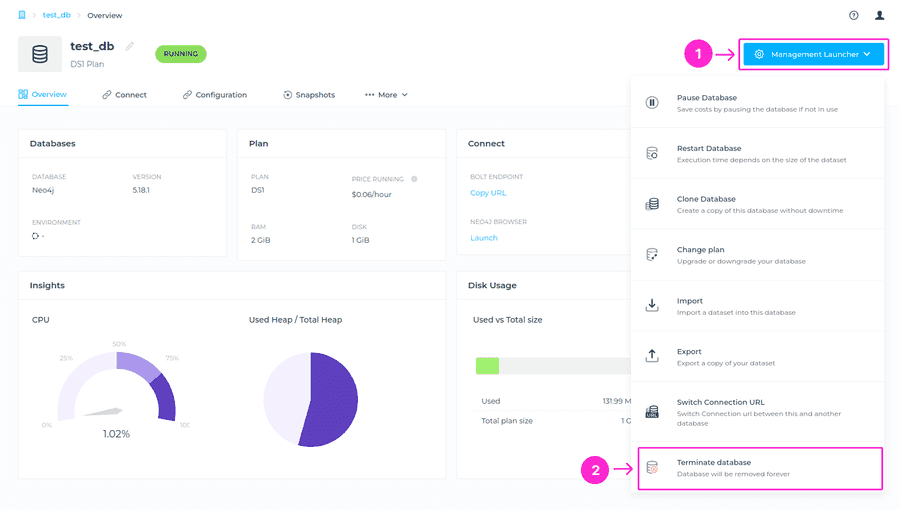
To delete your database, navigate to the Management Launcher menu, and select Terminate Database. You’ll be prompted to the modal window where you’ll need to enter the database name and click on the Terminate Database button to complete this action.
⚠️ Important
This action cannot be undone and will delete your database permanently.
Database Settings
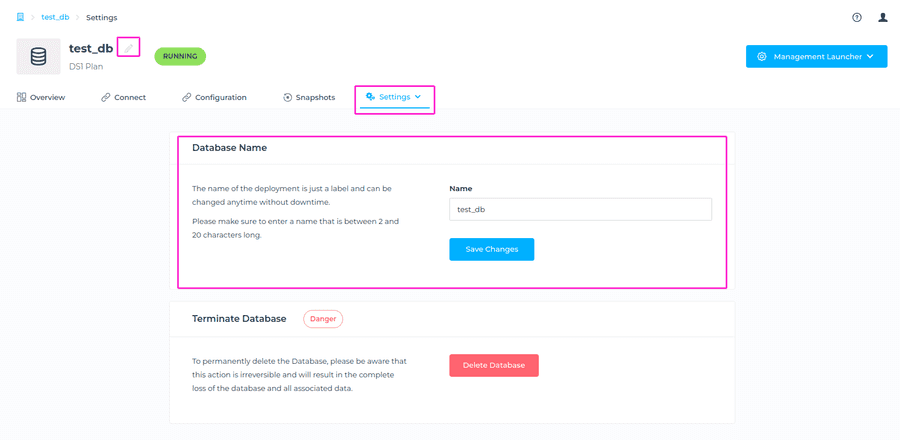
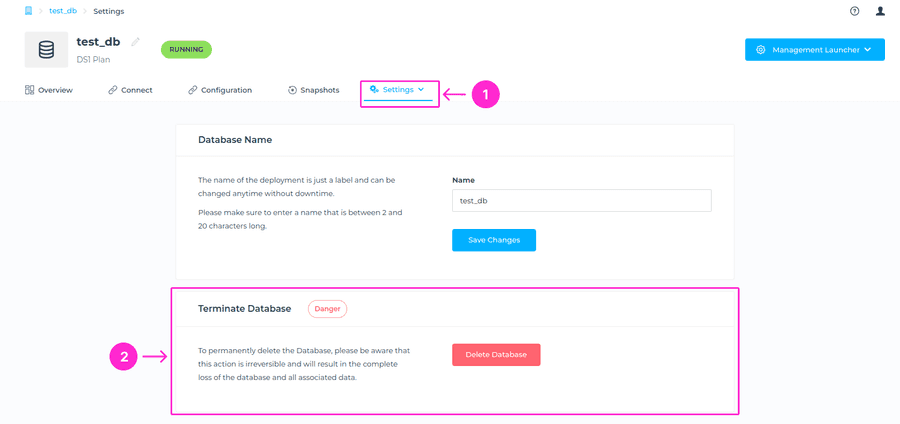
In the Settings tab of your database management dashboard, you can rename your database and delete it.
To change the name of your database navigate to the database dashboard view, and either click on a pen icon next to the database name, or go to the Settings tab. You’ll be prompted to enter a new desired name for your database. Once done, simply click on Save Changes button.
ℹ️ Info
The name of the deployment is just a label and can be changed anytime without downtime. Please make sure to enter a name that is between 2 and 20 characters long.
You can also delete database directly from database Settings tab > Delete database button. You’ll be prompted to the modal window where you’ll need to enter the database name and click on the Delete database button to complete this action.
Database Operations
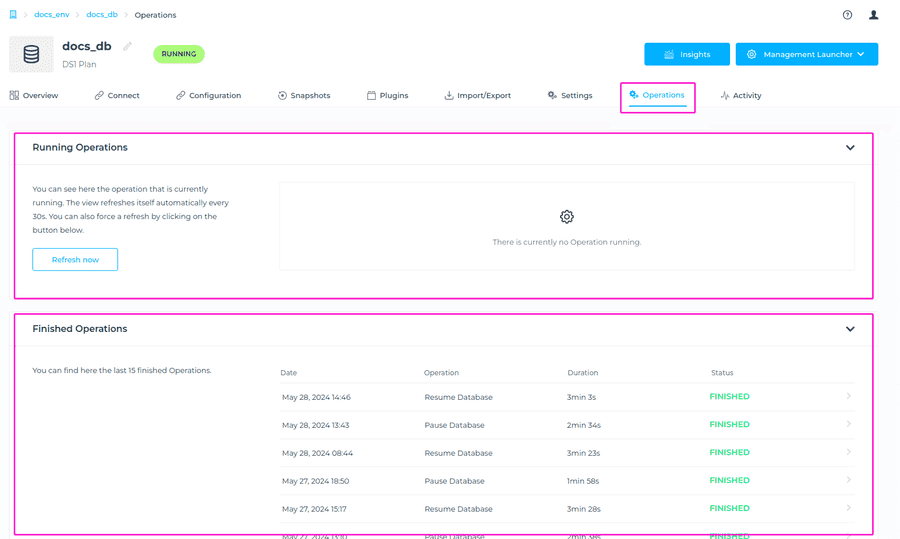
In the Operations tab of the database management dashboard you can see the running operations and finished operations. Simply click on Operations tab and you will see the listed operations below. The Running operations view refreshes itself automatically every 30s. You can also force a refresh by clicking on the Refresh button.
Database Activity
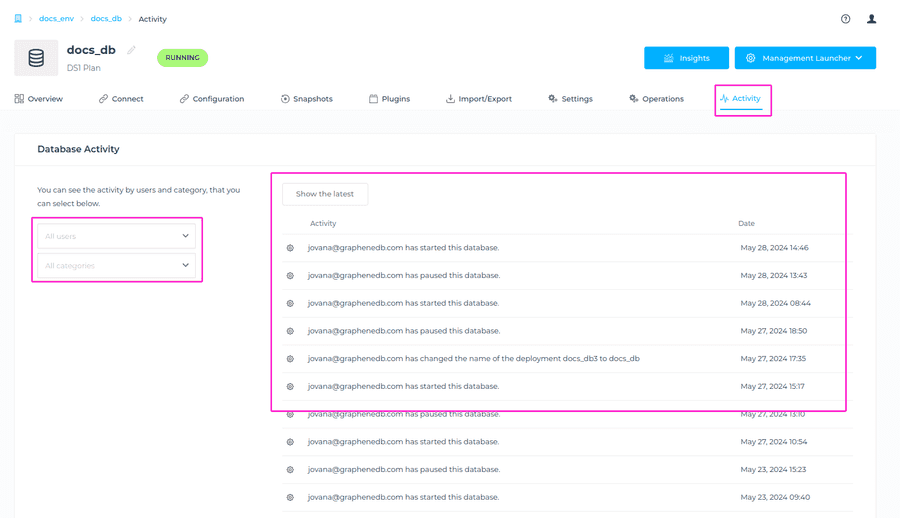
You’ll be able to see last activities related to the database in the Activity view. Activities that are shown are the ones related to that specific database only, for example adding a new configuration or restart of the database. Navigate to the Database view > Activity (as shown in the screenshot below). You can check the activity for all users or only a specific user, as well as sort it by Category for more specific visibility of activities.

